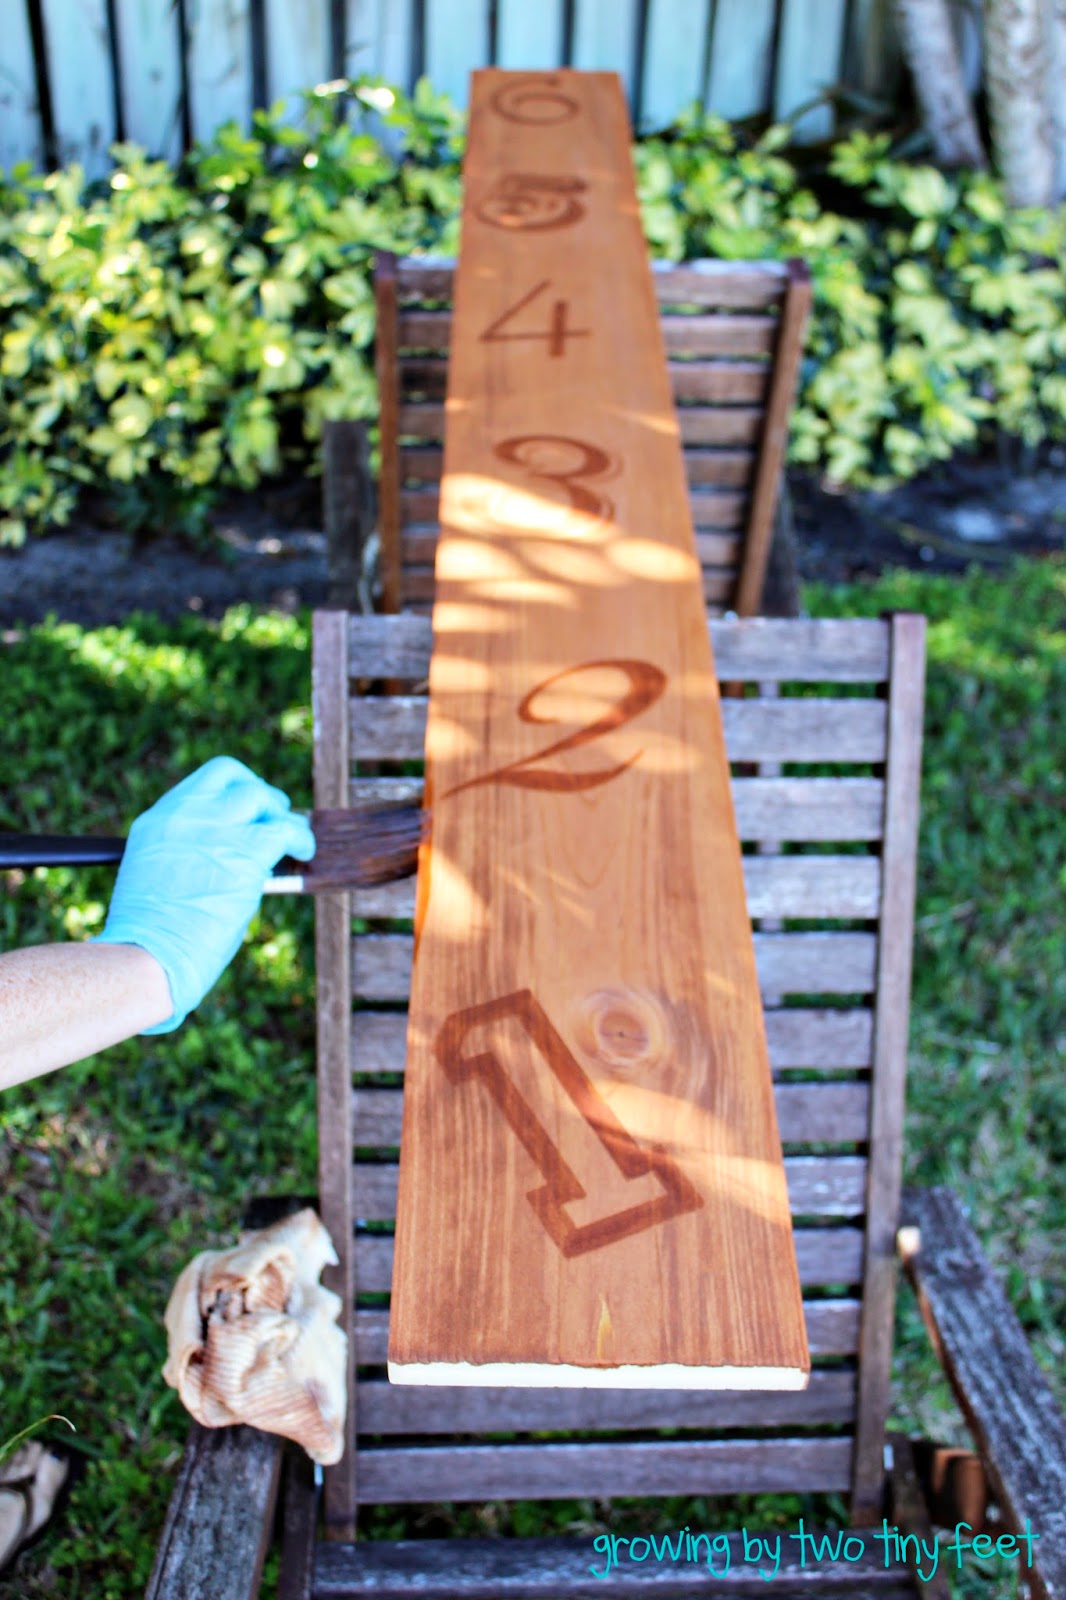
While at Home Depot for another project, we picked up a 4x6 whitewood plank and it sat in the garage for a good three weeks. Finally, I sanded it, wiped it down with a clean damp rag to remove the dust, and let it dry out for a bit. OK, so I let it dry out for, like, a week. I probably could have started sooner.
Here are the rest of the steps:
1. While the board is drying out, print out some oversized numbers. I chose different styles, but you can really go with whatever fonts float your boat. Just keep in mind that you will be painting in the stain, so you may want to choose fonts that are a little on the chunkier side, especially if you have not been blessed with a steady hand. If you're using Word, go to format-font, and select outline. This will give you the outline of the number like I have below. Makes it a little easier to trace.
2. Position the numbers on the board using a yardstick/ruler/tape measure for placement, secure with painter's tape. Then trace over the numbers with a ball point pen or wooden pencil. Be careful that you don't poke through the paper. You just want to leave the indentation of the lines in the wood. (It's a little hard to photograph, but if you squint and tilt your head to the left while standing on one foot, you should see the outline of the one.)
3. In a well-ventilated spot, "paint" your stain inside the indentations. (I used something we already had on hand - Varathane Wood Stain in Light Walnut.) I suggest starting in the center of the number and pushing the stain towards the edges. Depending on the direction of the grain, the stain could bleed past the number edges, which would be no bueno. So start with just a little bit of stain on your brush and add more light layers to darken. Let this dry for a while. (An hour or two is probably fine. I, of course, let it dry for about a week.) **If you are a super anal perfectionist, like me, this step could take a while. It's so worth it, though!
4. Now it's time to finish the stain. There's a few ways to do this, but I chose to dilute the Light Walnut with some paint thinner to get a lighter version. I was worried the big numbers wouldn't show up enough, so I played around with it until I found a shade I liked. Using an old paintbrush (one you can just toss after) lightly brush on the stain, let it soak for a few minutes, and wipe off with a clean rag. It's always best to use thin coats.
I only needed one coat, but you can add more to reach your desired color. I also added one coat of clear satin poly (which we already had), just to richen up the color and toughen up the wood a bit.
Let it cure according to the directions on the can. I let it sit on the back porch for a few days, until the smell had faded.
5. Using an oil-based paint pen (Sharpie is my favorite) and a yardstick/ruler/tape measure, mark off the hash marks. I started ours at 6 inches. That way it clears the baseboards when hanging and goes to 6 foot 6 inches, which covers the possible height of any future children (the Hubs is 6'4", so it's possible).
6. With craft paint and a pouncer, use a stencil to add the numbers to the board. (I got so into my paint pouncing, I totally flaked on taking a pic of this step! Ack!)
7. Once the numbers are all dry, add your measurements. I used a medium point pen to draw the hashmarks and an extra fine point to write in the measurements.
8. Hang on the wall and enjoy!
Happy DIYing!


Wow! This is definitely an upgrade from your childhood! Love it and it is easily portable for future moves. I really like the numbers.
ReplyDelete